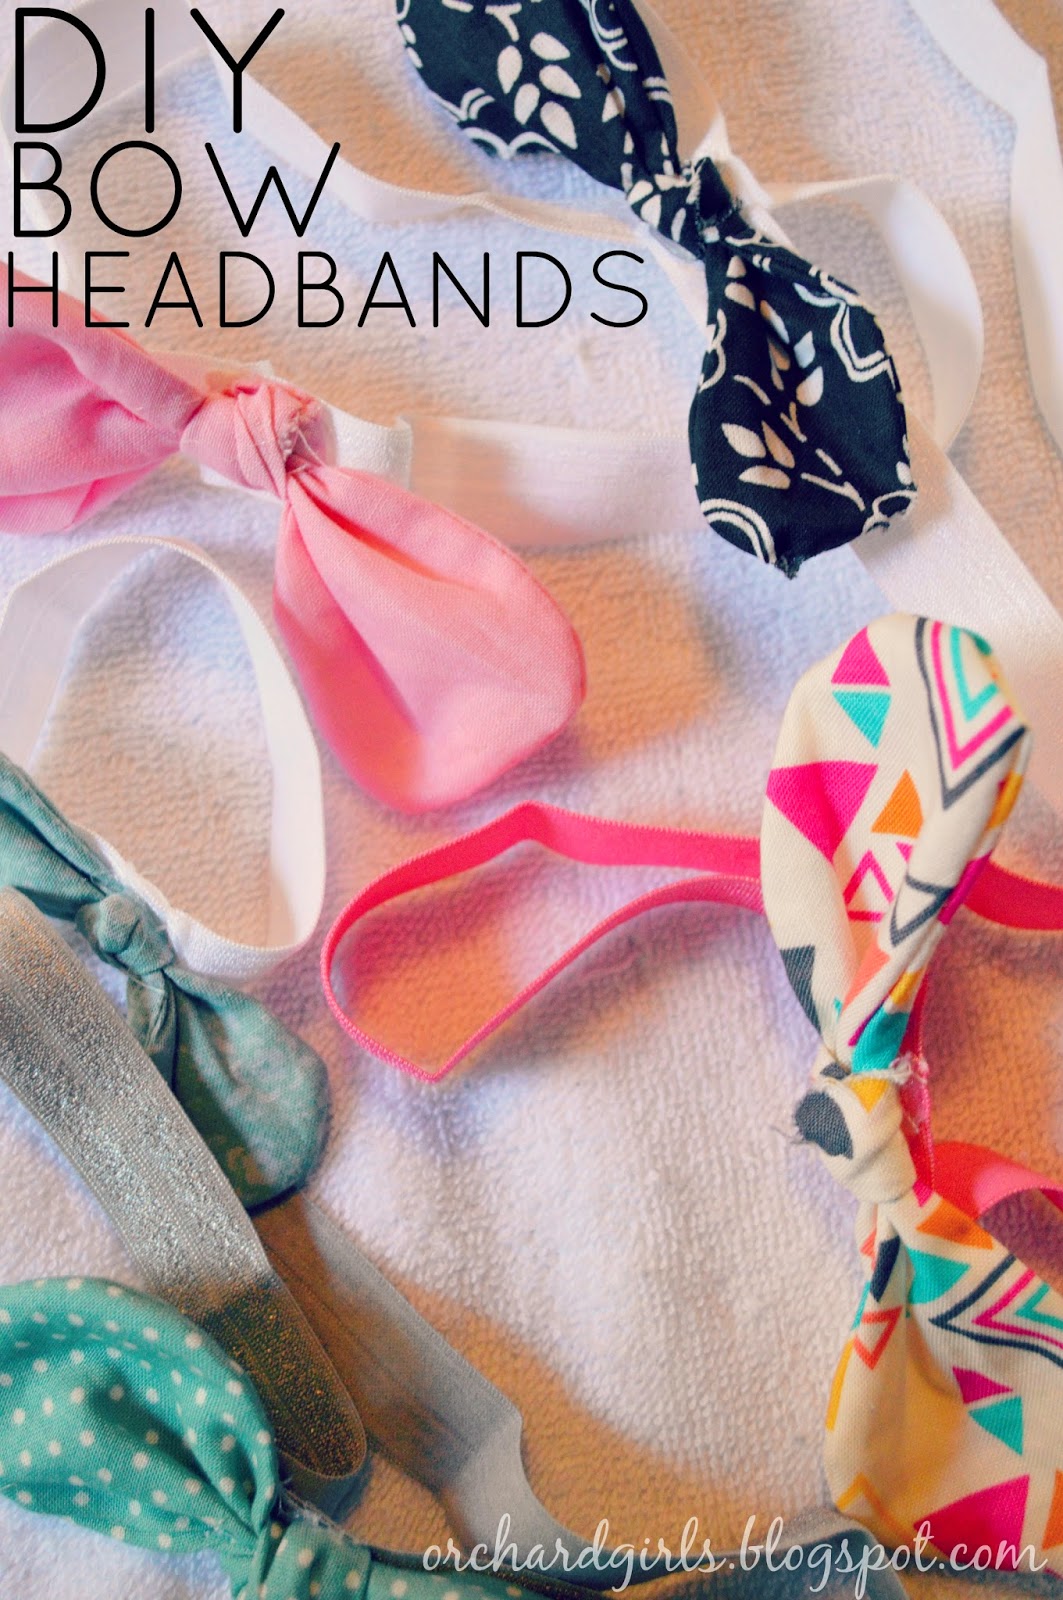
Let's get started! First, you'll need a few different fabric scraps. This is also a great project for left over fat quarters.
Supplies:
-Fabric (cotton or jersey work best)
-Scissors
-Sewing Machine-Fold Over Elastic (for headband, hair tie)
-Hot glue gun
Directions:
1. Cut out two pieces of fabric using this general shape-
Now, to be honest, I didn't really measure any of these. I wanted them to be different sizes anyway, and they ended up being different shapes, and sizes. Which makes them unique!
2. Put the "right" sides together and sew along the entire edge leaving a 1.5'' opening in the middle skinny part (on one side)
3. Use the opening to turn the bow right-side out.
4. Next tie the bow in a knot (being sure to center the knot and even out the bow ends)
Headband Directions:
1. Measure out your Fold Over Elastic to the head size you'd like --
Fold Over Elastic Headband Size Chart HERE
2. Overlap a very small part of the elastic and sew two lines (side by side) to attach both ends together (make sure to back stitch)
3. Using a hot glue gun attach your bow to the headband, covering the part where you connected the fold over elastic.
*Follow the same steps for a bow hair tie!*
Here area few pictures of Addie with one of her new headbands on!
I hope this tutorial was helpful, please let me know what you think, or if you have any questions - I'd be glad to answer them. Just leave a comment below! Have a wonderful week, and be sure to stop by tomorrow for our What We Eat Wednesday Link Party (to link up any new or old recipes posts).
Linking up to these lovely parties HERE!


Oh my! Addie just melted my heart with her sweet eyes..... You are a lucky mom! cute headbands too....
ReplyDeleteWishing you a happy Tuesday!! :)
“hugs” Crystelle
Crystelle Boutique
Thank you so much. I feel beyond blessed to be Adeline's mommy! Thank you for stopping by! Have a wonderful week :)
Delete-Kayla
I love these...I am definitely going to try these for my girls! Loved finding you through DIY Dreamer...glad to be your newest follower!
ReplyDeleteI am so glad you stopped by, Janice. Good luck, with your headbands - they really are fun/easy to make. Thanks for following along with us, we appreciate it!
Delete-Kayla
These are SWEET! I'm pinning this and tagging my grandmother, so she can make some for my girls! Glad to have found you from Fluster Buster!
ReplyDeleteThank you, Dianna! Thanks for sharing, I hope she finds the tutorial helpful and you get some gorgeous/fun headbands! Have a great week :)
Delete-Kayla
I love the shape of your bows! So cute. My little girl needs one stat.
ReplyDeleteThanks, I love the rounded-corner look, too! Let me know if you try them out, they're really pretty easy/fun to make!
Delete-Kayla
Oh my goodness, I absolutely ADORE these bows! I have been wanting some just like this for my daughter. They are so cute and unique! I sadly cannot sew, though, so if you ladies ever open an Etsy shop or sell them, let me know because I will be your first customer. Seriously. :)
ReplyDeleteThanks for sharing at the MaMade Blog Hop and for visiting my blog! I'm excited to be following along with you now. :)
Thank you so much, Ashlyn! I'm not quite sure, but I'm sure there would be a way to make them without sewing. You know, we have talked about opening an etsy store. If we do, I will be sure to let you know! Thanks again for the support. Happy to be following along with you, as well! :)
Delete-Kayla
Super cute! I would love to have you join me for my Centerpiece Wednesday linky party and share this post with us. Come on over http://thestylesisters.blogspot.com/2014/04/centerpiece-wednesday-cool-blues-with.html
ReplyDeleteKarin
We're all linked up. Thanks for stopping by, Karin! :)
Delete-Kayla
Super, super cute headbands! Adorable little girl!!! Thanks for sharing!
ReplyDeleteHope you have a great week:)
Hugs from Portugal,
Ana Love Craft
www.lovecraft2012.blogspot.com
Thanks so much, Ana. Thank you for hosting the party! Enjoy the rest of your week :)
Delete-Kayla
These are so cute, and look easy enough. Actually the hard part would be getting my little one to wear them. ;)
ReplyDeleteThanks for sharing. I found you through VMG206 link party.
They really were surprisingly easy! I'm with you on that, you better believe taking just these few pictures of Addie were hard enough, she of course, was trying to take them off during our little photo session! :)
DeleteThank you for stopping by!
-Kayla
This is so timely for me! I was sitting down at the computer to look up headband instructions when I saw the email for the DIY Sunday Showcase and ended up at your post!
ReplyDeleteYay! I am so happy you found us, I hope this tutorial will be helpful for you. Thank you for stopping by and saying, "hi"!
Delete-Kayla
So very cute. Thank you for this tutorial :)
ReplyDeleteDanice, thank you for stopping by. You're very welcome, once I figured out how easy these were, I knew I had to share! :)
Delete-Kayla
You're a feature today at Mommy Like Whoa's Best of the Internet! Pinning too! http://mommylikewhoa.com/2014/04/best-internet-volume-5/
ReplyDeleteThank you so much for the feature! Loved checking your blog out, too! Have a wonderful week!
Delete-Kayla
Tootsie (my 3 year old) would love these adorable headbands! Great job with the tutorial. Thanks so much for sharing on our Show-Licious Craft & Recipe Party! Please join us again next week!
ReplyDelete~ Ashley
Aw, that are super fun! Thanks for stopping by. I'm sure we'll be back again next week.
Delete-Kayla